Sunday, July 12, 2026
By Mike Moats Photography
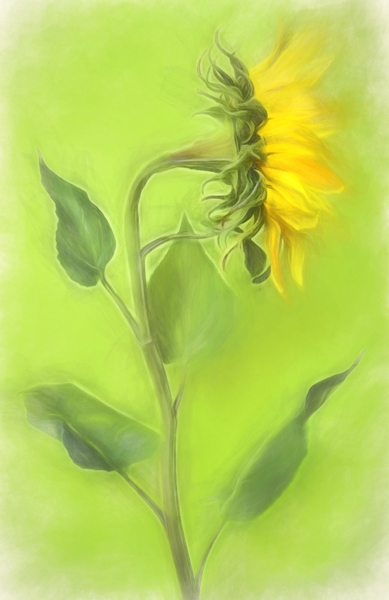
I’ve been experimenting with silk flowers purchased from a local crafts store and I have to admit that they look very real. The one problem with photography them is that the fine texture in the silk fabric can be seen in the photos. It is not as noticeable to the naked eye, but the camera and lens sees all. I think these will work out great by adding some artistic filters which will help hide the textures of the silk fabric. The Topaz Impression program or the Glow program Topaz recently released will work great for processing these silk flowers.
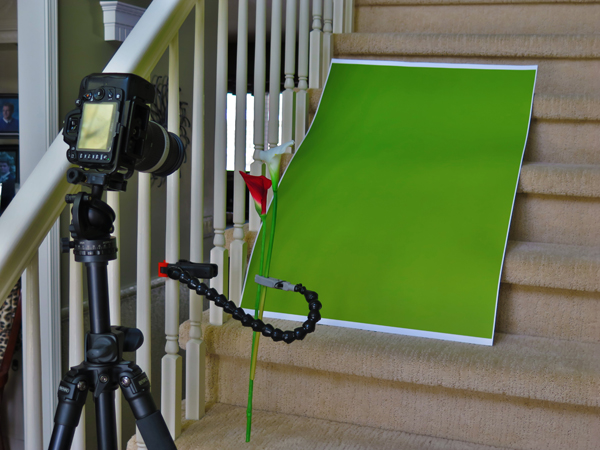
I just set them up on my stairway where I have great natural lighting from a large window on the second story of my foyer and using one of my background prints. Holding the subjects with a Wimberley Plamp.
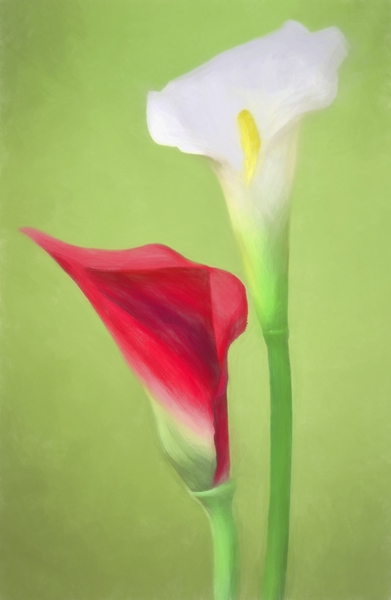
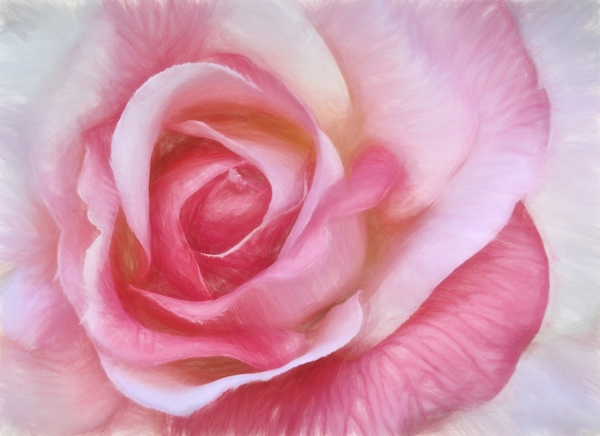
So far, I’ve worked with a rose, sunflower, and the two calla lilies you see here.
______________________________________________
Here are my three favorites from my first shoot with the silk flowers. I’ll post some different flowers in future.
_____________________________________
_______________________________________